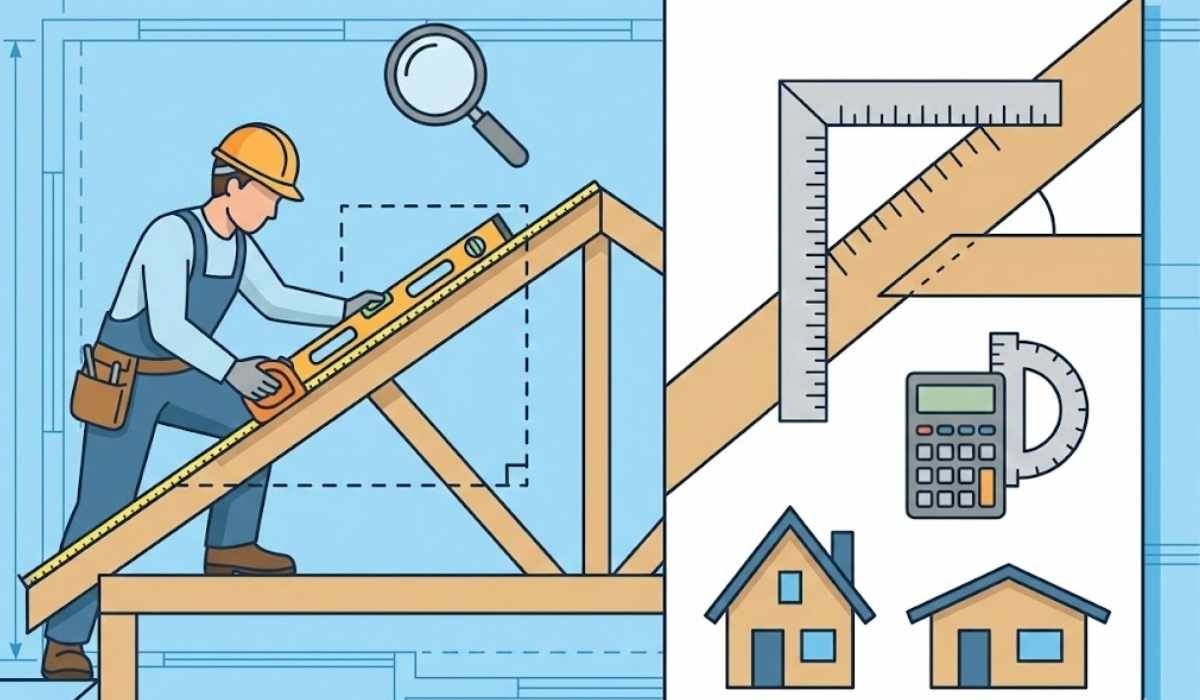
How to Calculate a Roof Slope?
If you've ever looked at your roof and wondered about its angle, or tried to decipher what a tradie means when they rattle off numbers like "six-twelve" or "twenty-five percent slope," you're in the right place. Calculating roof slope is one of those fundamental skills that sounds complicated but becomes pretty straightforward once you understand the basics.
Roof slope—sometimes called pitch, though engineers often reserve "slope" for percentage measurements—refers to the steepness of your roof expressed as a ratio, angle, or percentage. The most common format you'll hear around Australian worksites is the rise-over-run ratio, like 6:12, which means the roof rises 6 inches (or units) for every 12 inches (or units) of horizontal distance. You can also express this as degrees (about 26.57° in this case) or as a percentage (50%).
Why does this matter for Australian homeowners while replacing or installing roofs? Well, the National Construction Code sets minimum slope requirements that directly affect what you can build and how.
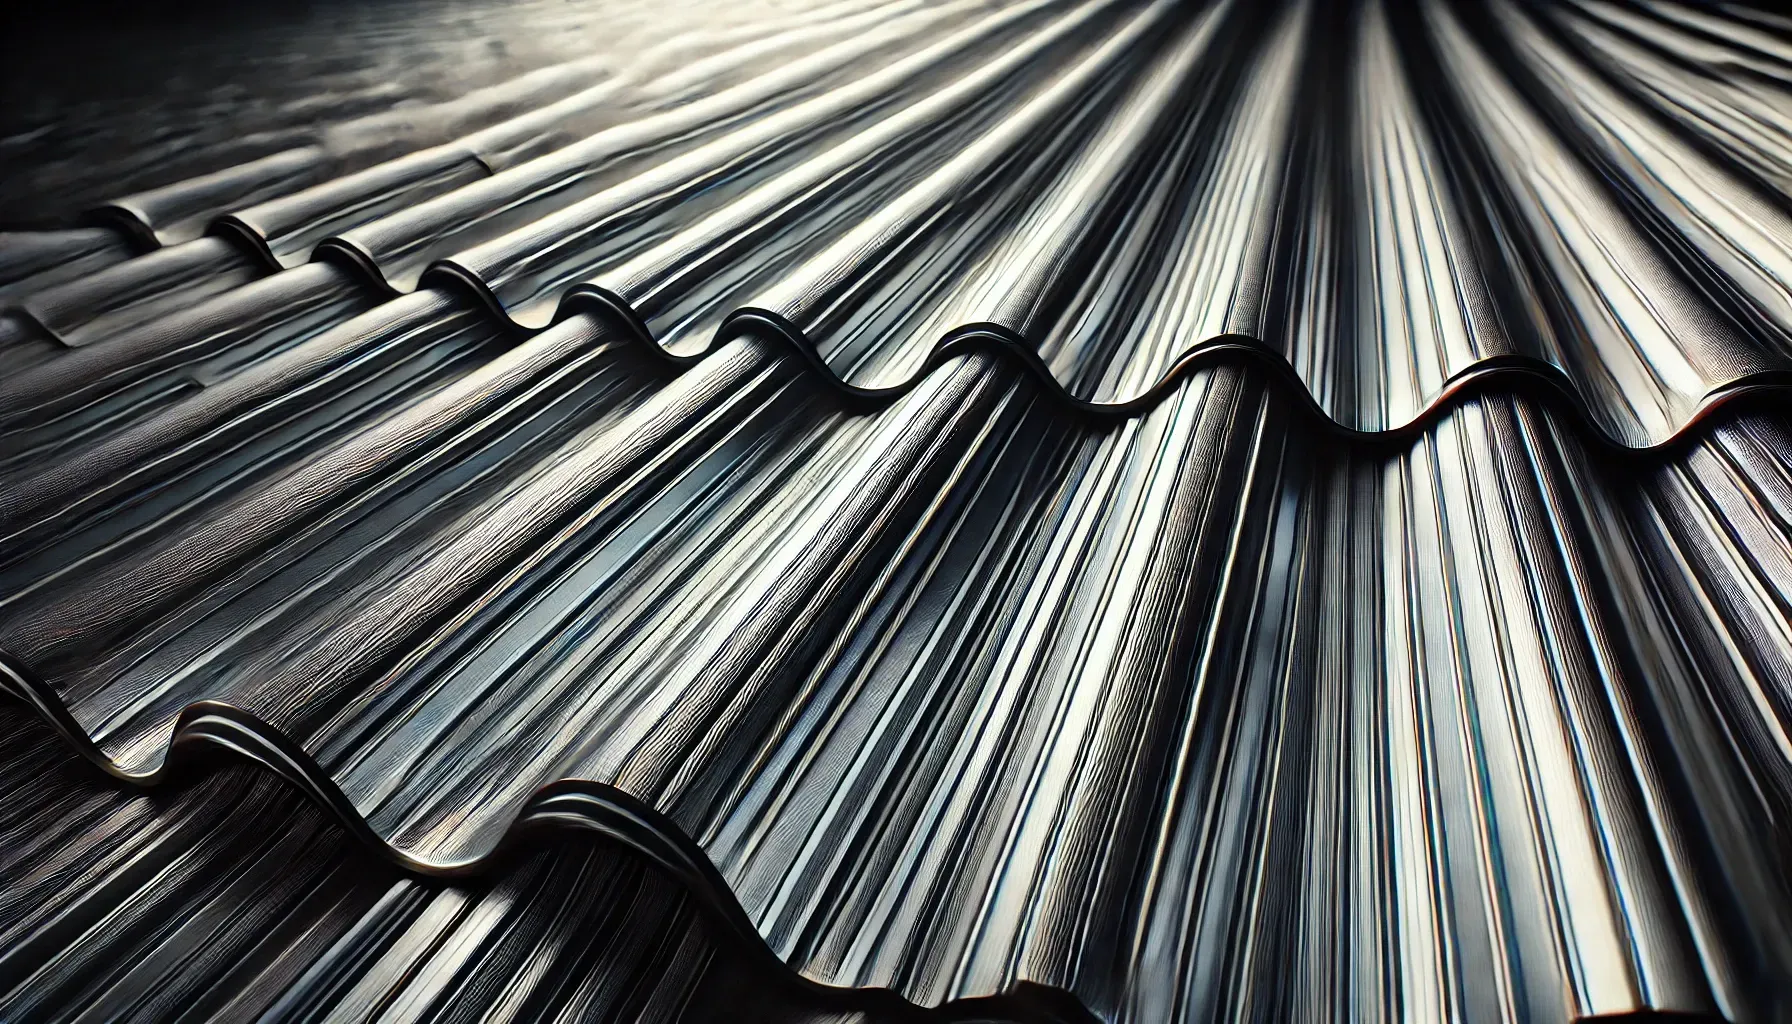
For instance, the NCC requires a minimum 1:100 slope (that's 1% grade) for any roof surface to ensure proper drainage—go flatter and you're asking for pooling water and leaks. Metal roofing, which covers the majority of Aussie homes, needs at least 5 degrees of slope according to AS 2050 and most manufacturer specifications like Bluescope and Stramit. Tiles require even more—typically 15 degrees minimum.
Throughout this guide, I'll walk you through multiple calculation methods, from the traditional tape-and-level approach your granddad would've used, to modern smartphone apps that do the maths for you.
We'll cover the formulas you need, how to apply them in real-world situations, and what those numbers mean for materials, compliance, and even bushfire safety in BAL zones.
Here's a quick reference for converting between formats—bookmark this table because you'll use it constantly:
Common Slope Conversions
| Rise/Run Ratio | x:12 Format | Degrees | Percentage | Typical Application |
|---|---|---|---|---|
| 1:100 | 1:100 | 0.57° | 1% | Minimum flat roof drainage |
| 1:12 | 1:12 | 4.76° | 8.33% | Very low metal roofs |
| 2:12 | 2:12 | 9.46° | 16.67% | Low-slope metal |
| 4:12 | 4:12 | 18.43° | 33.33% | Standard Aussie residential |
| 6:12 | 6:12 | 26.57° | 50% | Traditional suburban homes |
| 8:12 | 8:12 | 33.69° | 66.67% | Steep tile roofs |
| 12:12 | 12:12 | 45° | 100% | Very steep heritage/alpine |
Whether you're planning a renovation, checking a quote, or just trying to work out if your roof meets code, understanding slope calculation gives you the knowledge to make informed decisions. Let's dive in properly.
Roof Slope Fundamentals and Standards
Before we get into the actual calculations, you need to understand what roof slope represents and why Australian building standards care so much about it.
Slope Formats Explained
Roof slope can be expressed three different ways, and you'll encounter all of them depending on whether you're talking to a roofer, engineer, or using online calculators:
x:12 Format (Rise:12" Run): This is the traditional tradie measurement. It tells you how many units the roof rises vertically for every 12 units of horizontal run. A 6:12 slope means 6 inches up for every 12 inches across. Easy to visualize and practical for cutting rafters on site.
Degrees: The actual angle of the slope from horizontal. Calculated using arctan(rise/run) and converted to degrees. This is what engineers prefer and what your phone's level app will show. Most technical documents use degrees.
Percentage (Gradient): Calculated as (rise/run) × 100. A 6:12 slope becomes (6/12) × 100 = 50%. Civil engineers and drainage specialists typically use this format. You'll see it in stormwater calculations and road design.
Australian Minimum Requirements
The National Construction Code Volume 2, which governs houses and small buildings, sets clear minimums that aren't optional:
Metal Roofing: 5 degrees (approximately 1:12 or 8.7% slope) is the absolute minimum for standard exposed-fastener metal sheets. Manufacturers like Stramit and Bluescope both specify this in their technical data. Some concealed-fix systems can go lower—around 2-3 degrees—but require special installation techniques and additional waterproofing.
Tile Roofing: 15 degrees minimum under AS 2050, though most manufacturers recommend 17.5 degrees for concrete and terracotta tiles. Below this, water can back up under the overlaps during heavy rain.
Cyclone Areas: In Queensland's cyclone-prone regions and parts of northern Western Australia, the NCC imposes higher minimum slopes and stricter fastening requirements. You'll typically need 10 degrees or more, plus additional hold-down straps.
Flat Roofs: While called "flat," these must have at least 1:100 slope (1% or 0.57 degrees) for drainage. Anything less creates ponding, which leads to accelerated deterioration and leaks.
Practical Impacts
Slope affects everything from day-to-day performance to your insurance premiums. Proper drainage prevents water sitting on your roof, which causes rust in metal and degradation in membranes. In Bushfire Attack Level zones, steeper slopes (above 20-22 degrees) shed embers more effectively, reducing ignition risk. And from a practical standpoint, your slope determines which materials are even legal to use on your roof.
Slope Requirements by Material Type
| Roofing Material | Minimum Slope (Degrees) | Minimum Slope (x:12) | NCC/AS Reference | Additional Requirements |
|---|---|---|---|---|
| Metal (exposed fastener) | 5° | 1:12 | AS 2050, NCC 3.5.1 | Sarking in high-rain areas |
| Metal (concealed fix) | 2-3° | 0.5:12 | Manufacturer spec | Membrane required |
| Concrete tiles | 15° | 3.2:12 | AS 2050 | Sarking mandatory |
| Terracotta tiles | 15° | 3.2:12 | AS 2050 | Weather-side fixing |
| Membrane (flat roof) | 0.57° | 0.12:12 | NCC 3.5.1 | Falls to outlets |
| Slate | 20° | 4.4:12 | AS 2050 | Heritage certification |
Required Tools and Safety Measures
Right, before you start climbing around, let's talk about what you'll need and how to stay safe while doing it.
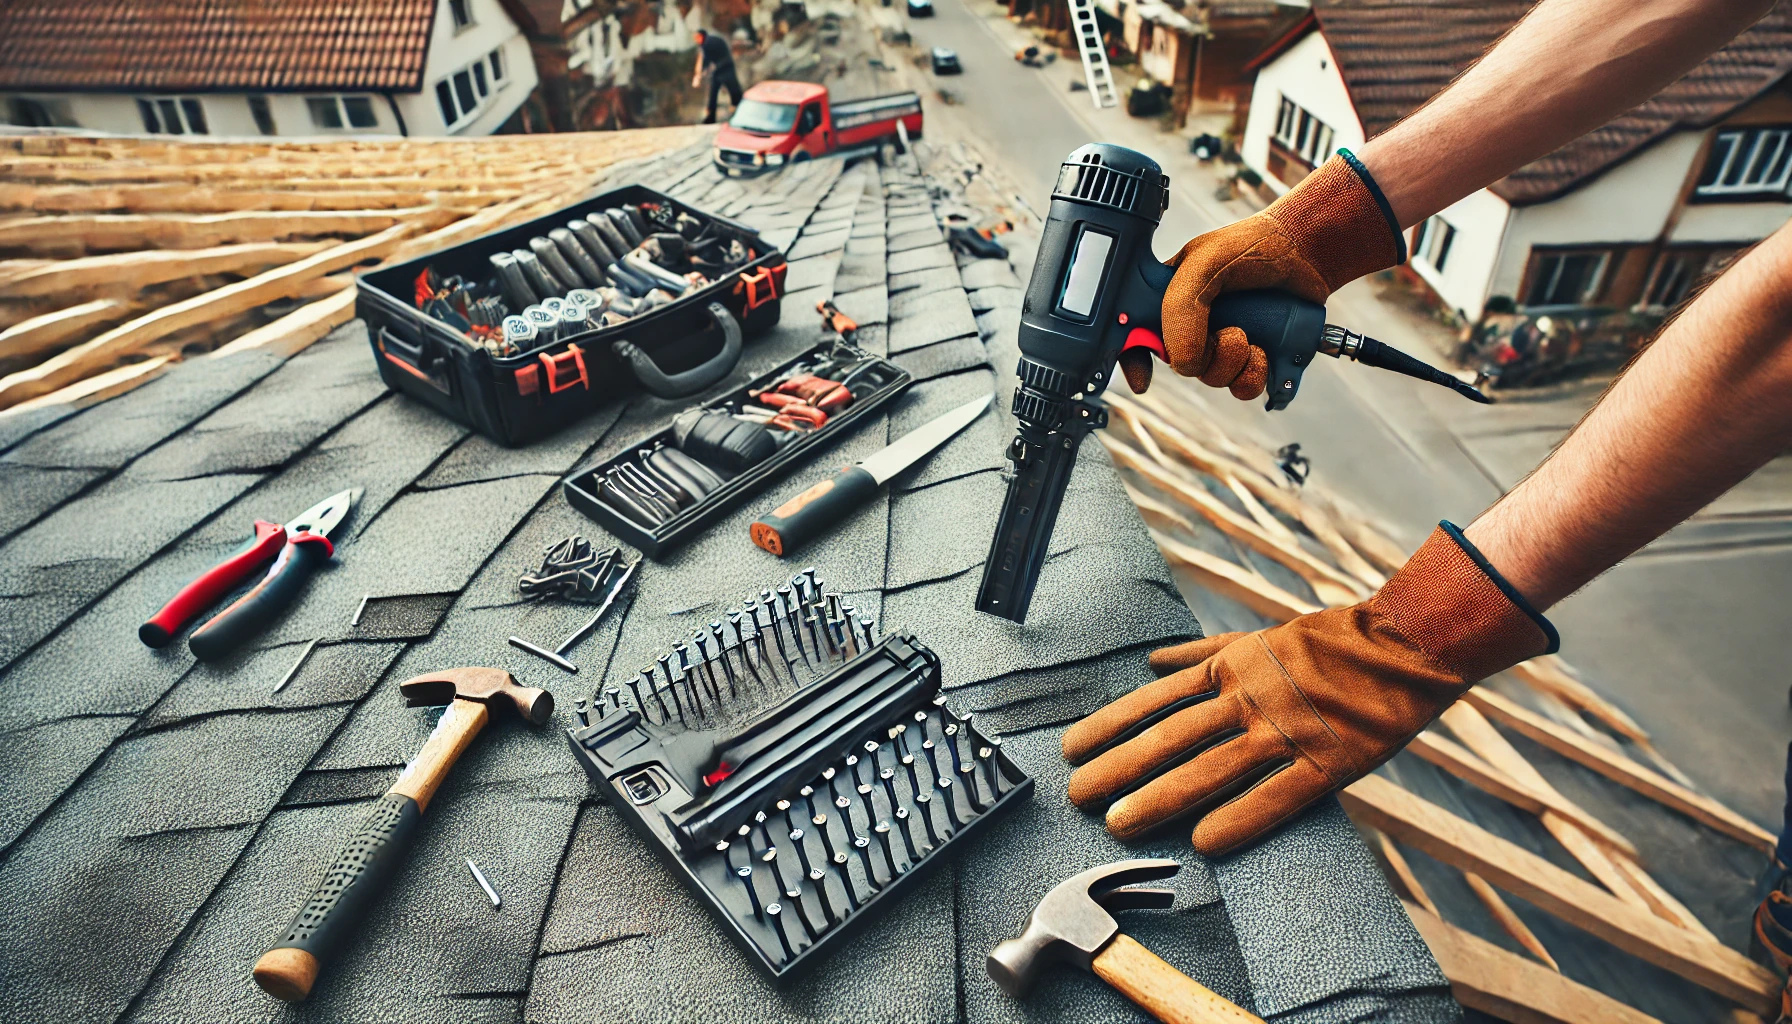
Essential Tools
For basic slope calculations, you don't need fancy equipment, but having the right gear makes the job significantly easier and more accurate.
Tape Measure: Get yourself a 10-metre tape at minimum. The longer ones (like a 15m or 20m) are brilliant for measuring full roof runs without splicing measurements together. Look for one with a good belt clip and a lock that actually holds—nothing worse than having your tape retract while you're balanced on a ladder.
Spirit Level: A 1.2-metre level is ideal—long enough to give accurate readings but still manageable to carry up a ladder. The longer the level, the more accurate your measurement, as it averages out minor surface irregularities. Check your level's calibration before using it (flip it 180 degrees and see if the bubble reads the same).
Speed Square: These triangular wonders cost about twenty bucks and let you quickly check angles and mark cuts. Not essential for measuring slope but dead useful if you're planning any carpentry work based on your measurements.
Laser Level: If you're doing multiple roofs or complex measurements, a laser level pays for itself quickly. You can shoot a perfectly level line across 20 metres instantly, which beats stuffing around with a spirit level. Decent ones start around $150.
Smartphone Apps
Welcome to the 21st century, where your phone can measure roof slopes with surprising accuracy. Apps like Roof Pitch Calculator (free on both Android and iOS) and the ShedBlog Online Tool use your phone's built-in accelerometer. Just place your phone flat against a rafter or the roof surface, and it gives you the angle directly.
Accuracy is typically within half a degree if you've calibrated properly. The trick is making sure your phone is sitting flat—any twist or gap throws off the reading.
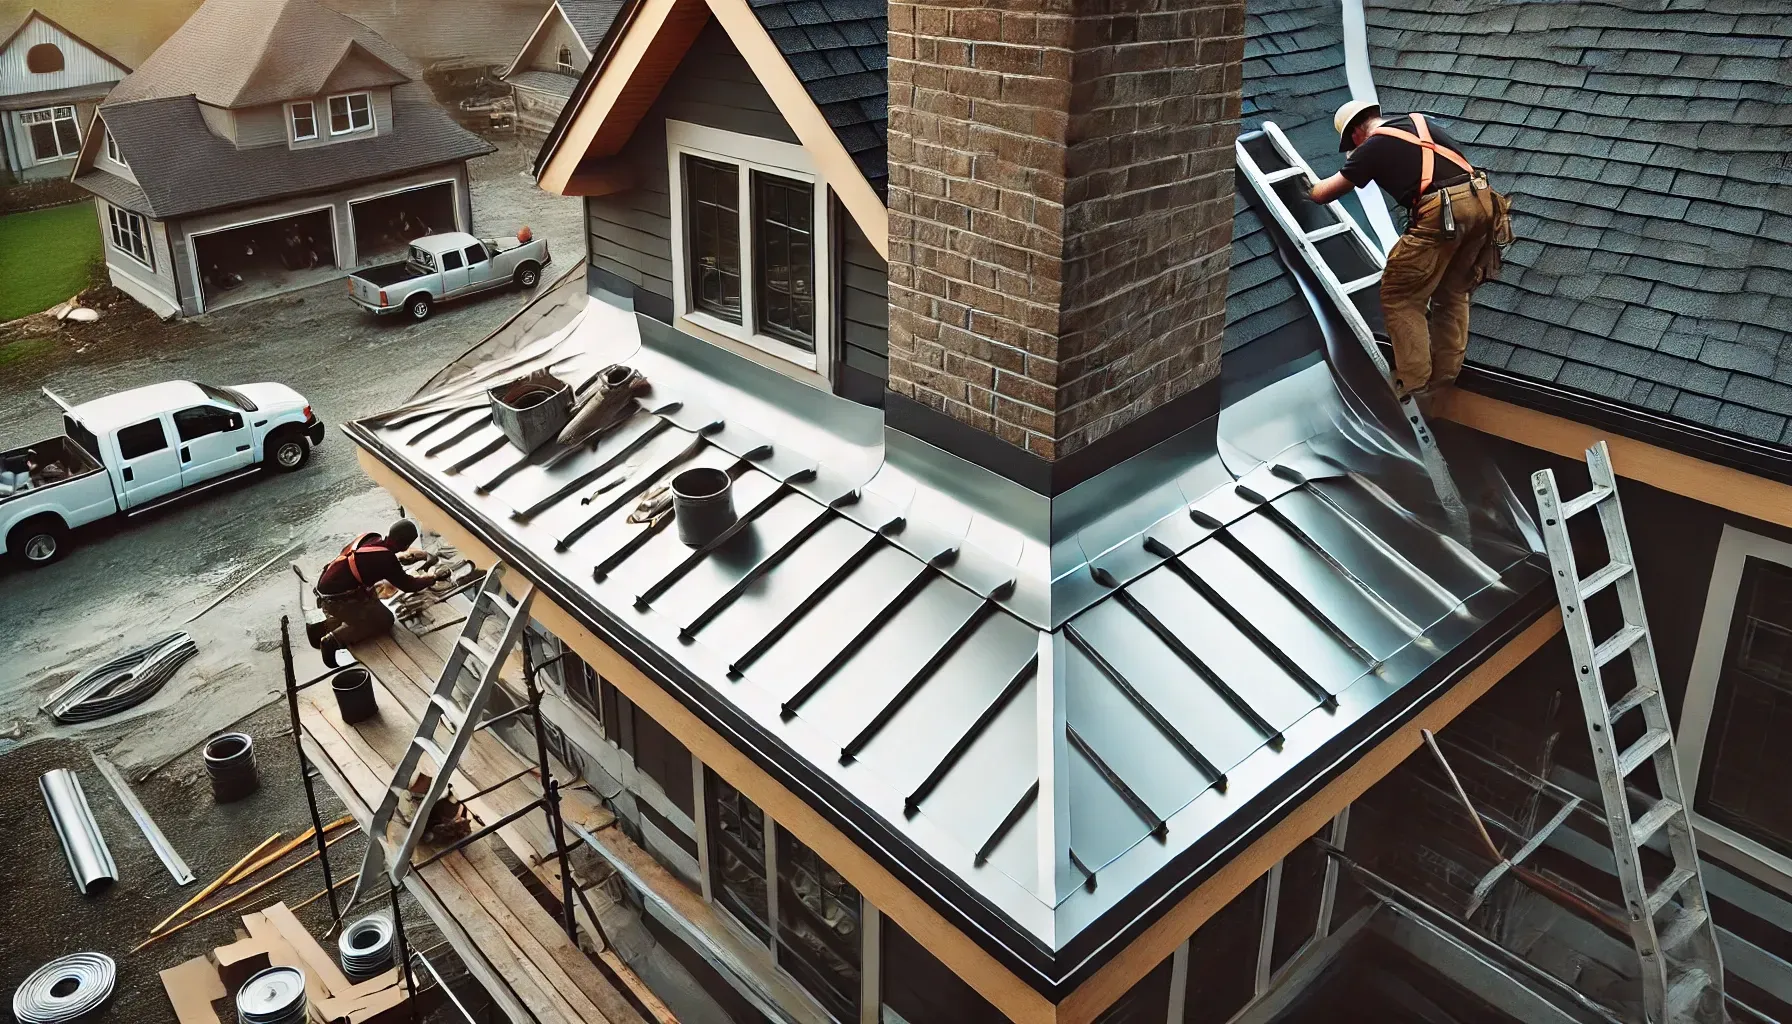
Safety Requirements (WorkSafe Australia)
This is where I need you to pay proper attention, because roof work genuinely injures people every year, and some of those injuries are bloody serious.
Ladder Safety per AS/NZS 1892: Your ladder needs to be on firm, level ground, extend at least a metre above the roofline, and be positioned at roughly a 75-degree angle (one unit out for every four units up). Tie it off at the top if possible. Give it a good shake before trusting your weight to it.
Fall Protection: WorkSafe regulations across all Australian states require harnesses and anchor points for any roof work where the slope exceeds 18 degrees (roughly 4:12). That's not a suggestion—it's law. Even if you're only up there for "a quick look," use proper protection.
Spotter: Have someone on the ground who knows you're up there and can call for help if things go sideways. They should also be keeping an eye on weather conditions—wind gusts and sudden rain make roofs incredibly dangerous.
Ground Alternatives: For steep roofs or situations where access isn't safe, measure from the ground using the methods we'll cover in the calculations section. No measurement is worth a hospital visit.
Tool Precision Comparison
| Method | Typical Accuracy | Cost Range | Conditions Required | Best Use Case |
|---|---|---|---|---|
| Manual tape + level | ±0.5° | $30-60 | Roof access, calm weather | Site verification |
| Speed square | ±1° | $15-25 | Direct rafter access | Quick angle checks |
| Smartphone app | ±0.5° | Free-$15 | Calibrated device | Multiple measurements |
| Laser level | ±0.2° | $150-400 | Clear line of sight | Professional work |
| Digital angle finder | ±0.1° | $80-200 | Contact with surface | Precision requirements |
Step-by-Step Manual Calculation
Alright, let's get into actually calculating your roof slope using hands-on measurements. I'll give you two methods—one for working on the roof itself, and one for measuring the entire roof structure.
Step 1: Measure Rise and Run (Full Roof Method)
This approach gives you the overall slope of your roof and works well when you're planning major projects or need compliance documentation.
Measuring the Run: Start at the outside edge of your wall (directly below where the roof starts) and measure horizontally to a point directly below the ridge. This horizontal distance is your "run." Don't measure along the ground if it's sloped—use a string line or laser to ensure you're measuring truly horizontal. For a standard Aussie home, this might be anywhere from 3 to 6 metres.
Measuring the Rise: From that same wall edge, measure vertically up to the ridge. This is your "rise." The easiest way is to use a plumb bob or laser level to establish a vertical reference, then measure along that line. Alternatively, if you can access the roof space, measure from the ceiling height to the ridge height and subtract the wall height.
Let's say you measured 4 metres of run and 1.5 metres of rise. Your slope ratio is 1.5:4, which simplifies to 3:8, or more commonly expressed as 4.5:12 (multiply both numbers by 1.5 to get the x:12 format).
Practical Example:
- Run measured: 6 metres (horizontal distance from wall to ridge)
- Rise measured: 3 metres (vertical height from eaves to ridge)
- Slope ratio: 3:6 = 1:2 = 6:12
- This is a 50% slope, or 26.57 degrees
Step 2: The 12-Inch Local Method (Rafter Method)
This is the classic tradie technique and gives you incredibly accurate results for that specific section of roof. You'll need access to the underside of your roof—either through a manhole or by removing a few sheets temporarily.
Process:
- Locate an accessible rafter in your roof space
- Place your spirit level horizontally along the underside of the rafter, making absolutely certain the bubble is dead centre
- From your starting point, measure exactly 305mm (12 inches) along the level—mark this spot with a pencil
- From that 305mm mark, measure straight down (perpendicular) to the rafter surface
- That vertical measurement is your rise in the x:12 format
For example, if you measured 152mm (6 inches) down from your level to the rafter, your slope is 6:12. Simple as that.
Critical Points:
- The level must be perfectly horizontal—even a slight tilt skews your results
- Measure perpendicular down—not at an angle
- Take this measurement at three or four different rafters across your roof
- Older roofs often have variations due to settling; average your measurements
Step 3: Full Roof Verification Across Multiple Points
Here's where thorough folks separate themselves from those who end up with surprises during construction. Take measurements at:
- Front and back roof planes: They might differ slightly
- Left and right sides: Especially important on older homes
- Hip and valley intersections: These can have different effective slopes due to geometry
- Near ridge and near eaves: Settling can create variations
Record every measurement. If you're seeing differences of more than 0.5:12 between measurements, you might have structural issues worth investigating.
Worked Calculation Example:
Measurement Set from a Typical Aussie Home:
- Front section: 1.5m rise over 4m run
- Back section: 1.6m rise over 4m run
- Left side: 1.55m rise over 4m run
- Right side: 1.5m rise over 4m run
- Average rise: (1.5 + 1.6 + 1.55 + 1.5) ÷ 4 = 1.5375m
- Slope calculation: 1.5375m ÷ 4m = 0.384375
- Convert to x:12: 0.384375 × 12 = 4.6:12 (call it 4.5:12 for practical purposes)
- Convert to percentage: 0.384375 × 100 = 38.4%
- Convert to degrees: arctan(0.384375) = 21°
Common Errors to Avoid:
- Measuring run along the roof slope instead of horizontally (massive error)
- Starting measurements from gutters instead of wall edge (gutters often aren't level)
- Using a short level that picks up surface irregularities
- Not accounting for ceiling bulkheads when measuring rise
- Forgetting to record which measurement corresponds to which roof section
Mathematical Formulas and Rafter Length
Once you've got your rise and run measurements, the maths becomes straightforward. Here are the essential formulas every Australian homeowner should know.
Core Equations
Slope Ratio: This is simply rise divided by run, expressed as a ratio.
- Formula: rise ÷ run
- Example: 2m rise ÷ 4m run = 0.5 or 1:2 or 6:12
Converting to Degrees: Use the arctangent (inverse tangent) function.
- Formula: arctan(rise ÷ run) × (180 ÷ π)
- Or more simply: arctan(rise ÷ run) then press the degrees button
- Example: arctan(2 ÷ 4) = arctan(0.5) = 26.57°
Converting to Percentage: Multiply your ratio by 100.
- Formula: (rise ÷ run) × 100
- Example: (2 ÷ 4) × 100 = 50%
Calculating Rafter Length (Pythagorean Theorem): This is crucial for ordering materials.
- Formula: √(rise² + run²)
- Example: √(2² + 4²) = √(4 + 16) = √20 = 4.47 metres
This rafter length is the actual distance along the slope from the wall top plate to the ridge. It doesn't include overhangs, so add those separately.
Comprehensive Conversion Table
Here's a detailed reference showing how different measurements relate to each other—this is the table to screenshot and save:
| Rise/Run Ratio | x:12 Format | Degrees | Percentage Slope | Rafter Length (per 4m run) | Material Multiplier |
|---|---|---|---|---|---|
| 1:12 | 1:12 | 4.76° | 8.33% | 4.01m | 1.003 |
| 1:06 | 2:12 | 9.46° | 16.67% | 4.12m | 1.014 |
| 1:04 | 3:12 | 14.04° | 25% | 4.24m | 1.031 |
| 1:03 | 4:12 | 18.43° | 33.33% | 4.47m | 1.054 |
| 01:02.4 | 5:12 | 22.62° | 41.67% | 4.72m | 1.083 |
| 1:02 | 6:12 | 26.57° | 50% | 4.47m | 1.118 |
| 01:01.7 | 7:12 | 30.26° | 58.33% | 5.20m | 1.158 |
| 01:01.5 | 8:12 | 33.69° | 66.67% | 5.37m | 1.202 |
| 01:01.2 | 10:12 | 39.81° | 83.33% | 5.66m | 1.302 |
| 1:01 | 12:12 | 45° | 100% | 5.66m | 1.414 |
Worked Example: Complete Roof Calculation
Let's work through a full calculation for a typical Australian home:
Measurements:
- Rise: 3 metres (from wall height to ridge)
- Run: 6 metres (half the building width, wall to ridge centre)
Step-by-step Calculations:
- Slope Ratio: 3 ÷ 6 = 0.5 or 1:2
- x:12 Format: 0.5 × 12 = 6:12
- Degrees: arctan(3 ÷ 6) = arctan(0.5) = 26.57°
- Percentage: (3 ÷ 6) × 100 = 50%
- Rafter Length: √(3² + 6²) = √(9 + 36) = √45 = 6.71 metres
Material Implications:
- Roof sheeting needed: 6.71m × building length
- Hip rafter length: 6.71m × 1.414 = 9.49m (hips run diagonally)
- Material multiplier: 1.118 (so 100m² flat = 111.8m² of sheeting)
- Complies with NCC: Yes (26.57° exceeds 5° minimum for metal)
- Suitable for: All metal profiles, all tile types, optimal for solar panels
This slope is absolutely ideal for Australian conditions—steep enough for excellent drainage and ember shedding, not so steep that it's dangerous to work on or uses excessive materials.
Online Calculators and Apps
Look, sometimes you just want to punch in numbers and get an answer without stuffing around with formulas. Fair enough. There are some genuinely useful Australian-specific tools that'll do the heavy lifting for you.
Top Calculator Recommendations
Rapids Takeoff Calculator: This mob offers a free roof calculator specifically designed for Australian building standards. Input your rise and run, and it spits out degrees, percentage, x:12 format, plus material multipliers. It's particularly good because it includes NCC compliance notes—it'll flag if your slope is below minimum for your chosen material.
Vivid Skylights Roof Pitch Calculator: Free online tool that also calculates safe working angles and fall protection requirements based on WorkSafe guidelines. Brilliant if you're planning to DIY any work.
Kure Truss Slope Calculator: Designed for truss manufacturers but freely accessible. Give it your building width and desired roof height, and it calculates optimal slopes, including hip factors and valley configurations. Genuinely professional-grade tool.
Stramit Slope Guide: Available through their website as a PDF and interactive tool. It's manufacturer-specific but includes detailed charts showing minimum slopes for every profile they make, plus installation requirements for different rainfall intensity zones.
Using Calculators Effectively
Input Verification: Always double-check you're entering measurements in the right units. Some calculators want millimetres, others metres. Mixing them up gives hilariously wrong results.
Photo and Drone Integration: Several apps like RoofSnap and EagleView can calculate slope from photos. You need to mark reference points (like a door or window of known dimensions), and the app uses photogrammetry to work out the angles. Accuracy is typically ±1-2 degrees—fine for quotes, not precise enough for engineering submissions.
Rainfall Integration: The more sophisticated calculators let you input your location and automatically adjust recommendations based on your area's Annual Recurrence Interval (ARI) for rainfall. In high-rainfall zones (like parts of Queensland getting 3000mm+ annually), you might need steeper slopes or additional waterproofing even if you meet NCC minimums.
Key Features Comparison
| Calculator/App | Free/Paid | Outputs | Australian-Specific | Best Feature |
|---|---|---|---|---|
| Rapids Takeoff | Free | All formats + materials | Yes (NCC integrated) | Material estimating |
| Vivid Skylights | Free | Slope + safety requirements | Yes (WorkSafe refs) | Safety compliance |
| Kure Truss | Free | Complete truss design | Yes | Complex roof geometry |
| Stramit Guide | Free | Product-specific minimums | Yes | Manufacturer specs |
| RoofSnap | Paid ($) | Photo-based measurement | No (US-focused) | Remote measurement |
| OmniCalculator | Free | Mathematical conversions | No | Formula verification |
Pro Tips for Accurate Results
Cross-Reference Multiple Tools: Run your calculations through two different calculators to verify results. If they disagree significantly, recheck your input measurements.
Save Your Calculations: Screenshot or download PDFs of your results. You'll need these for quotes, permit applications, and future reference.
Consider Local Climate: Standard calculators give NCC minimums, but your specific location might need more. A 5-degree metal roof is legal everywhere, but in Cairns with 4-metre wet season downpours, you'd be mad not to go steeper.
Troubleshooting Calculations and Applications
Even with accurate measurements and proper formulas, you'll run into situations that need special handling counter the problems.
Dealing with Uneven Slopes
Older Australian homes, particularly anything built before the 1970s, often have roof slopes that vary across different sections. This happens due to:
- Foundation Settling: One side of the house sinks slightly over decades
- Addition Mismatch: Extensions built with slightly different slopes
- Original Construction Variation: Pre-regulation era building tolerances were... generous
Solution: Measure at least four points across your roof—front, back, left, right—and calculate the average. However, if variations exceed 1:12 between measurements, get a structural engineer involved before planning any major work. That level of difference suggests significant structural movement.
Complex Roof Configurations
Hip Roofs: The hip rafters (corner rafters) run at a different angle than the common rafters. To calculate hip slope, multiply your common rafter slope by 1.414. If your main roof is 6:12, your hips effectively run at 8.5:12. Stramit and other manufacturers publish hip factor tables that account for this.
Dutch Gable and Combination Roofs: These have multiple slopes on different planes. Calculate each section independently and note which materials and fixing methods apply to each pitch.
Skillion Roofs: These single-slope roofs are increasingly popular in modern Australian architecture. Calculation is straightforward—just one rise and run measurement—but pay extra attention to gutter sizing because all water flows to one edge.
Practical Applications of Your Slope Data
Once you've calculated your slope, here's how to use that information:
Gutter Sizing: Steeper roofs concentrate water flow at eaves. AS/NZS 3500.3 provides formulas, but rule of thumb: roofs steeper than 8:12 need gutters 25-30% larger than the minimum for that roof area. Your 100m² roof at 4:12 might need 100mm quad gutters, but at 9:12 it needs 125mm.
Solar Panel Orientation: Your roof slope affects panel efficiency. The optimal tilt for Sydney is around 33 degrees (roughly 8:12), but anything between 20-40 degrees (4:12 to 10:12) only loses 5-8% efficiency. Calculator tools like PVWatts can optimize based on your exact slope and latitude.
Material Selection: Your calculated slope determines what's legal. Below 15 degrees rules out standard tiles. Below 5 degrees limits metal options. Check manufacturer specifications—they're often more conservative than NCC minimums for good reason.
Error Prevention Checklist
Before finalizing any calculations or placing material orders, run through this checklist:
- Measurements taken at minimum 3 locations per roof plane
- Run measured horizontally, not along slope
- Rise measured vertically, not following rafter
- Calculator set to degrees (not radians or grads)
- Unit consistency (all metres or all millimetres)
- Results cross-checked with second calculator
- Photos taken of measurement setup
- Slope meets NCC minimum for intended material
- Local rainfall intensity considered
- Hip/valley factors calculated if applicable
When to Call an Engineer: If you're planning structural changes, retrofitting an older roof to meet current codes, or dealing with slopes below minimum standards, spend the $300-500 for a structural engineer's report. It's required for permit applications anyway, and it protects you from costly mistakes.
Final Thoughts
Calculating roof slope isn't rocket science, but it does require careful measurement and attention to detail. Whether you're using a tape measure and spirit level, a smartphone app, or an online calculator, the key is understanding what the numbers mean and how they affect your project.
Remember the Australian context: NCC compliance isn't optional, our weather patterns demand proper drainage, and bushfire zones add extra considerations. Take multiple measurements, cross-check your calculations, and when in doubt, consult a professional. The $200-500 you spend on expert verification might save you thousands in material waste or compliance issues.
Now you've got the knowledge—go measure that roof properly!
How do I convert roof slope percentage to degrees?
The formula is: arctan(slope percentage ÷ 100) × (180 ÷ π), but let's make it practical. If you've got a 50% slope (which is common in Australia), you divide 50 by 100 to get 0.5, then take the arctangent: arctan(0.5) = 26.57 degrees.
Most calculators have an arctan or tan⁻¹ button—just punch in (percentage ÷ 100) and hit that button. Your phone's calculator app can do this in scientific mode.
For quick reference: 25% slope ≈ 14°, 50% slope ≈ 26.6°, 75% slope ≈ 36.9°, 100% slope = 45°.
Australian tools like the ShedBlog calculator do this conversion automatically and flag whether your result meets NCC compliance for your chosen roofing material. This is particularly useful because AS 2050 specifies minimums in degrees, but civil engineers often work in percentage grades, so you need to convert between them regularly.
What is the minimum roof slope for metal roofing in Australia?
The legal minimum under AS 2050 and NCC Volume 2 is 5 degrees (approximately 1:12 or 8.7% slope) for standard exposed-fastener metal roofing. This applies to Colorbond, Zincalume, and similar products from manufacturers like Stramit, Bluescope, and Lysaght.
However—and this is important—that 5-degree minimum assumes you're using proper sarking (waterproof underlay) in areas with moderate rainfall. In high-rainfall zones, particularly tropical Queensland or Tasmania's west coast where you might cop 100-year Annual Recurrence Interval (ARI) events, manufacturers recommend going steeper—typically 7-10 degrees—or using concealed-fix systems with additional waterproofing.
Some specialized systems like Klip-Lok can go as low as 2 degrees, but these require specific installation techniques and aren't suitable for DIY work. Always check the specific product's installation manual—manufacturers' requirements often exceed NCC minimums, and your warranty depends on following their specifications.
Can I calculate roof slope from the ground without accessing the roof?
Absolutely, and there are several methods that work surprisingly well. The shadow method is the classic approach: on a sunny day, measure the length of your roof (eaves to ridge) and the shadow it casts at the same time. The angle equals arctan(roof length ÷ shadow length). This gives approximate results—typically within 2-3 degrees—which is fine for initial planning.
More modern approaches use smartphone apps with camera leveling. Apps like Roof Pitch Calculator let you photograph your roof from ground level, mark reference points of known dimensions (like a door or window), and calculate slope using photogrammetry. Accuracy depends on your photo angle and reference measurements but generally hits ±2 degrees.
For complex or inaccessible roofs, professional services use drone photography and LiDAR scanning. This is what roof restoration companies use for quotes and is accurate to within 0.5 degrees. Costs around $100-200 for a residential property and gives you complete roof measurements including all valleys, hips, and penetrations.
The trigonometric approach works too: measure the horizontal distance from your wall to a point directly below the ridge (use a plumb bob or laser), then use a clinometer or angle-finding app to sight the ridge angle from that point. Bit fiddly but works when other methods aren't practical.
How does roof slope affect rafter length, and why does it matter?
Rafter length is calculated using the Pythagorean theorem: rafter length = √(rise² + run²). Let's use a practical example: if your roof has a 3-metre rise and 6-metre run, your rafter length is √(9 + 36) = √45 = 6.71 metres. That's the actual length of timber or steel you need, not including overhangs.
This matters enormously when ordering materials. Bluescope metal sheets come in standard lengths—most commonly 6.0m, but also 6.9m, 7.2m, and longer custom lengths. If your calculation shows you need 6.71m rafters, you're ordering 7.2m sheets to allow for wastage and end overlaps. Get this wrong and you'll either have massive wastage (expensive) or joints in the wrong places (leaks).
For structural timber, rafter length determines what sizes are practical. Standard Australian timber lengths are 3.6m, 4.2m, 4.8m, 5.4m, and 6.0m. If your calculation shows you need 6.71m rafters, you're either splicing timber (requires engineering) or using engineered timber products that come in longer lengths.
The rafter calculation also affects pricing quotes. When tradies give you a per-square-metre rate, they're factoring in the slope multiplier. A 6:12 slope needs 11.8% more material than the flat roof area suggests. This is why quotes vary significantly for the same floor area with different roof slopes—the steeper roof genuinely uses more materials and labor.
What roof slope is best for solar panels on Australian homes?
The optimal slope for solar panels varies by latitude, but generally falls between 10-30 degrees (roughly 2:12 to 7:12 in x:12 format) across most of Australia. For Sydney (34°S latitude), the ideal is around 30-33 degrees—basically matching your latitude angle. Brisbane (27°S) wants slightly flatter around 25-27 degrees, while Melbourne (38°S) benefits from 35-38 degrees.
However—and this is good news—solar panel efficiency is fairly forgiving. If your existing roof is anywhere between 15-40 degrees, you'll lose less than 10% compared to the theoretical optimum. A roof at 20 degrees in Sydney (theoretically 13 degrees off perfect) still captures about 95% of the maximum possible energy.
The bigger issue in Australia is compass orientation. North-facing panels at a sub-optimal slope of 20 degrees will massively outperform east or west-facing panels at the "perfect" 33 degrees. If you're building new and can choose your slope, go for something between your latitude and 30 degrees. If you're retrofitting to an existing roof, don't stress about slope unless you're below 10 degrees or above 45 degrees.
Online calculators like the Clean Energy Council's solar calculator or PVWatts adjust output predictions based on your exact slope, orientation, and location. Well worth running your specific numbers to see if tilt frames (which can optimize angle but add cost and wind loading) are worthwhile for your situation.